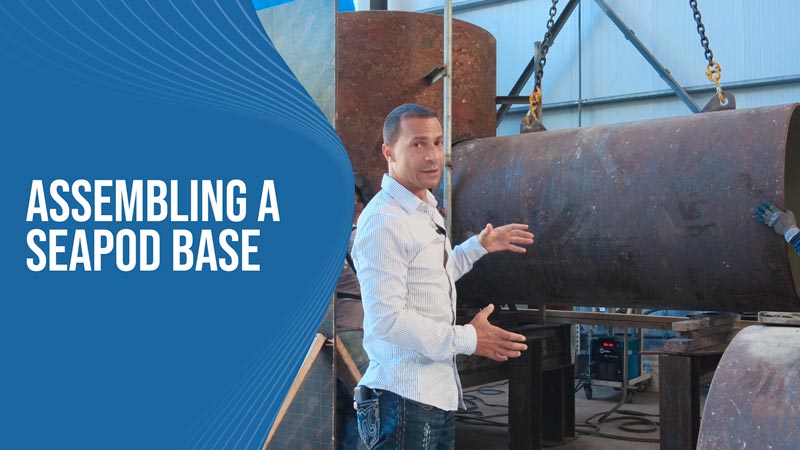
We have another update from the factory about the SeaPod base that we are currently building. We are beginning to connect the outrigger tubes to the center core. These sections weigh nearly one ton each so we have to use a crane to move them around. As the tube is lifted by the crane, we can easily move it so that we can align it with the hole that it must fit into.
We use a template to cut the hole in the center core that will receive the outrigger tubes. This hole needs to be precise because we don’t want to have a large gap when we weld the pieces together. So because of this, it is a pretty tight fit and sometimes the holes need to be widened a bit with the torch to make the outrigger tube fit correctly.
These pieces will be what the side spars are connected to so everything needs to be perfectly level because even a small difference near the center core will be exaggerated at the end of the 10-meter outrigger. Making sure that everything is perfectly square is very important since this will be the base of the entire SeaPod.
If the hole is too snug, then we can try to pull the outrigger tube into the hole using a come-along to avoid cutting more material from the core. Once the pieces are in place and properly squared and leveled, we can make our welds to permanently marry these pieces together.
After this piece is welded in place, we will repeat the process with the two other outrigger tubes. When we have all three connected then we can move on to the other SeaPod base that we are making. Soon we will have two TriPod Model bases built and ready for sandblasting and a few coats of epoxy protectant. Production is continuing to steadily march forward here at the factory!
